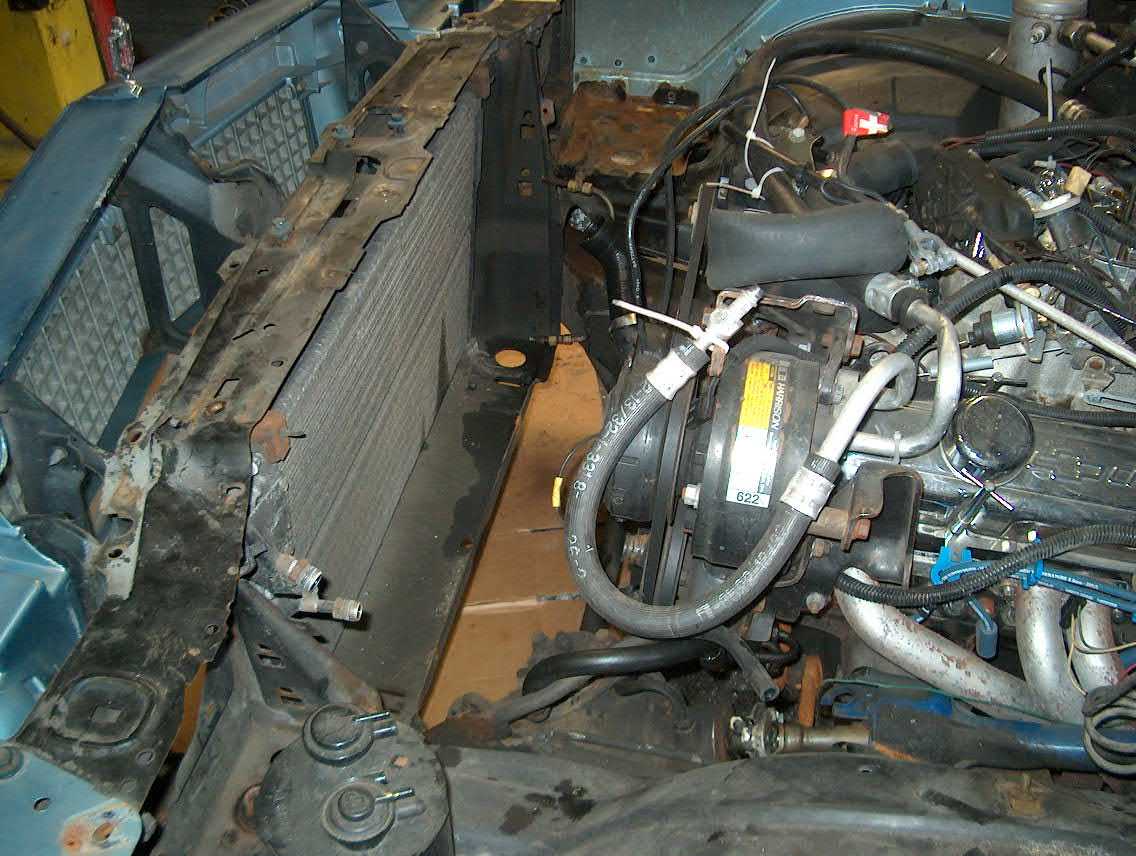
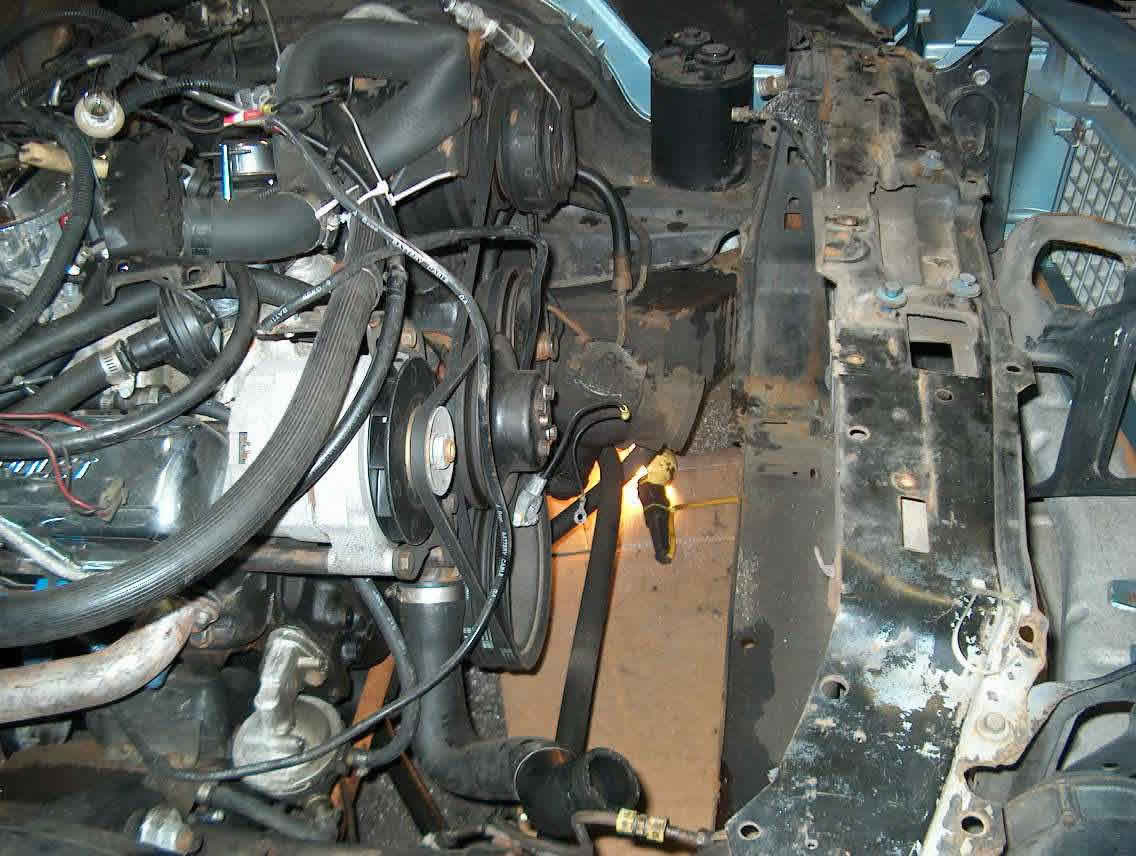
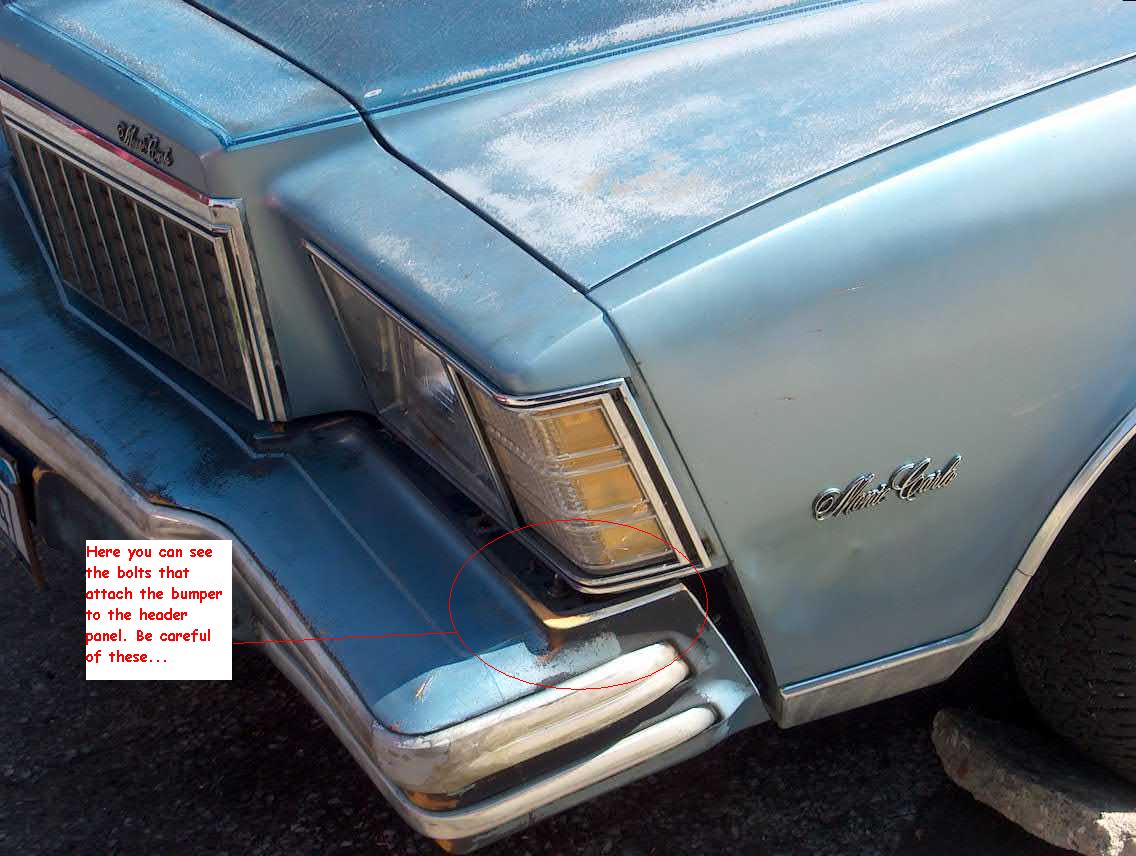
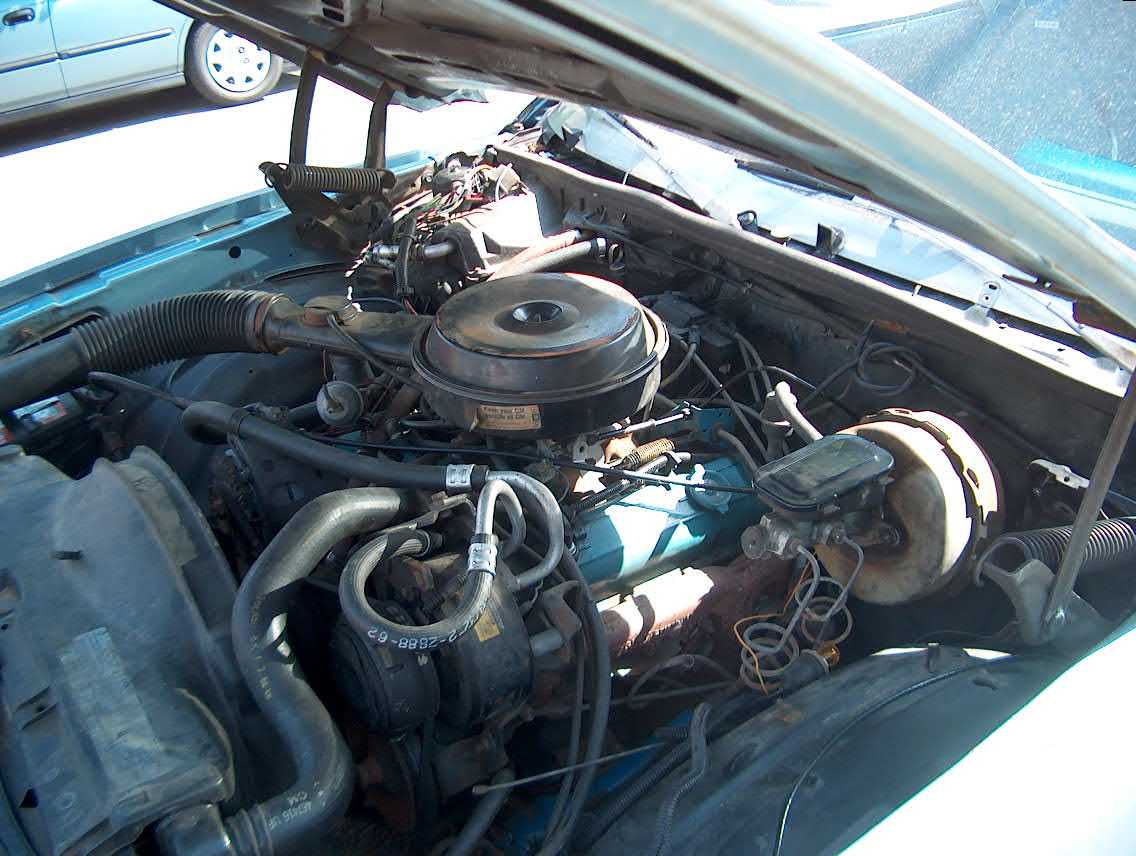
Just taking all the stuff off the front of the engine and all around. Have to get everything detached... Disconnect a/c at firewall and engine bay wiring harness at firewall. Also disconnecte a/c lines at the condensor. Disconnect the vacuum hoses, engine ground straps and throttle linkage. Oh you are going to have to take the bumpers off. The front bumper is attached to the header panel and you have to be real careful about taking them out. They are 10mm but if they are frozen you will break or crack the header panel where they bolt into so soak them, A LOT....
You are going to have to pull the radiator and fan assembly and shroud.
Here the nose is finally off. There are bolts attaching the fenders to the firewall and bulkhead of the body tub. There are bolts on the left and right side under the fender right at the door seam. On the nose picture below you can see the tabs at the back of the fenders. They bolt to the bulkhead/firewall.

Here you can see one of the body mounts on the front firewall. Your best bet is to soak everyone of the body bolts on a car this old.

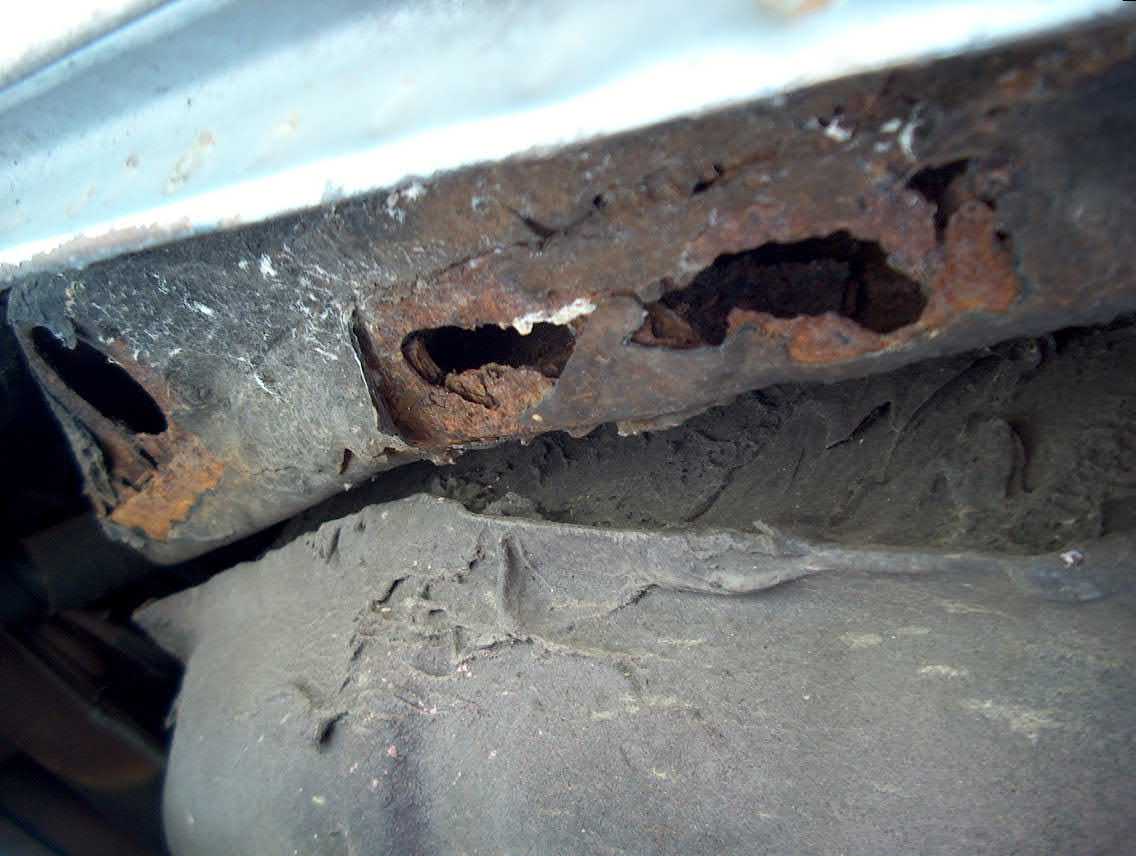
Some of these body bolts are/were a nightmare. You might have to burn some out and some of them broke and one we had to go into the trunk and cut the floor above the mount to cut the bolt out as shown below. The diamond shaped piece is attached in there and is where the body bolt is threaded into. If this happens you are going to have to weld this piece back or put something else in there.
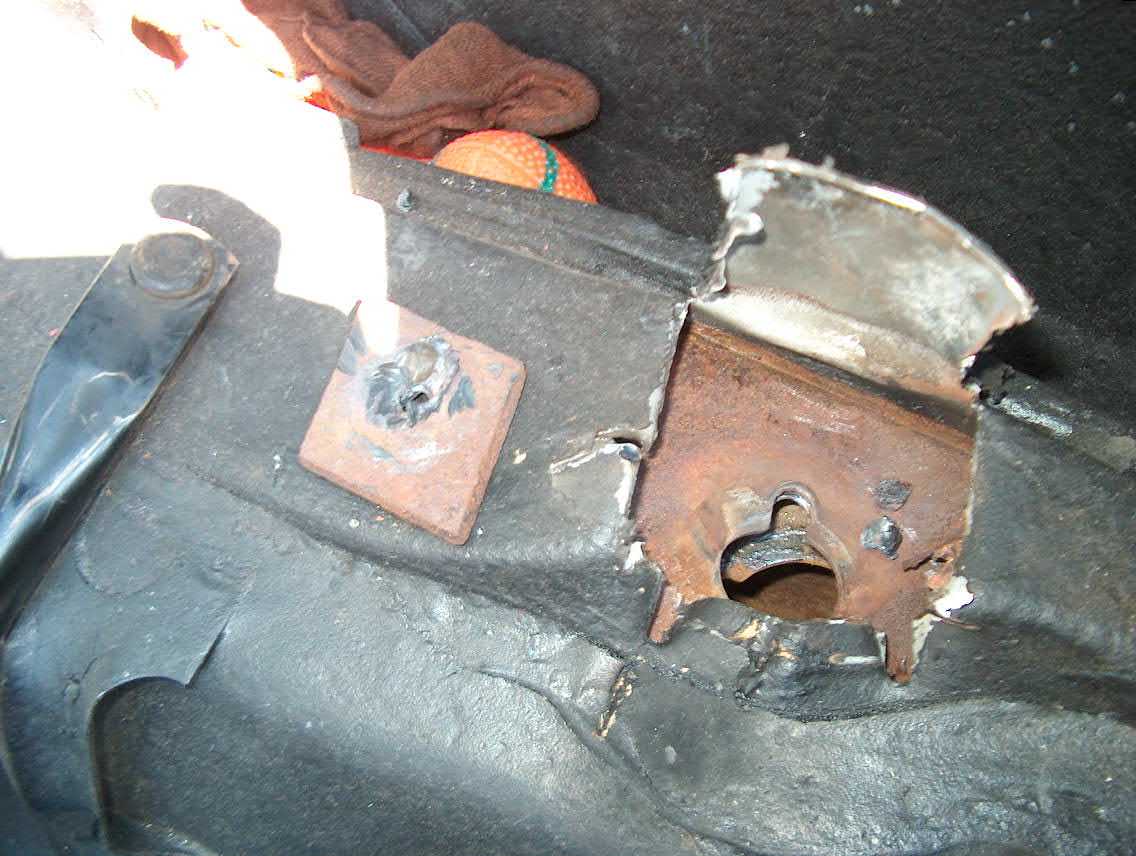
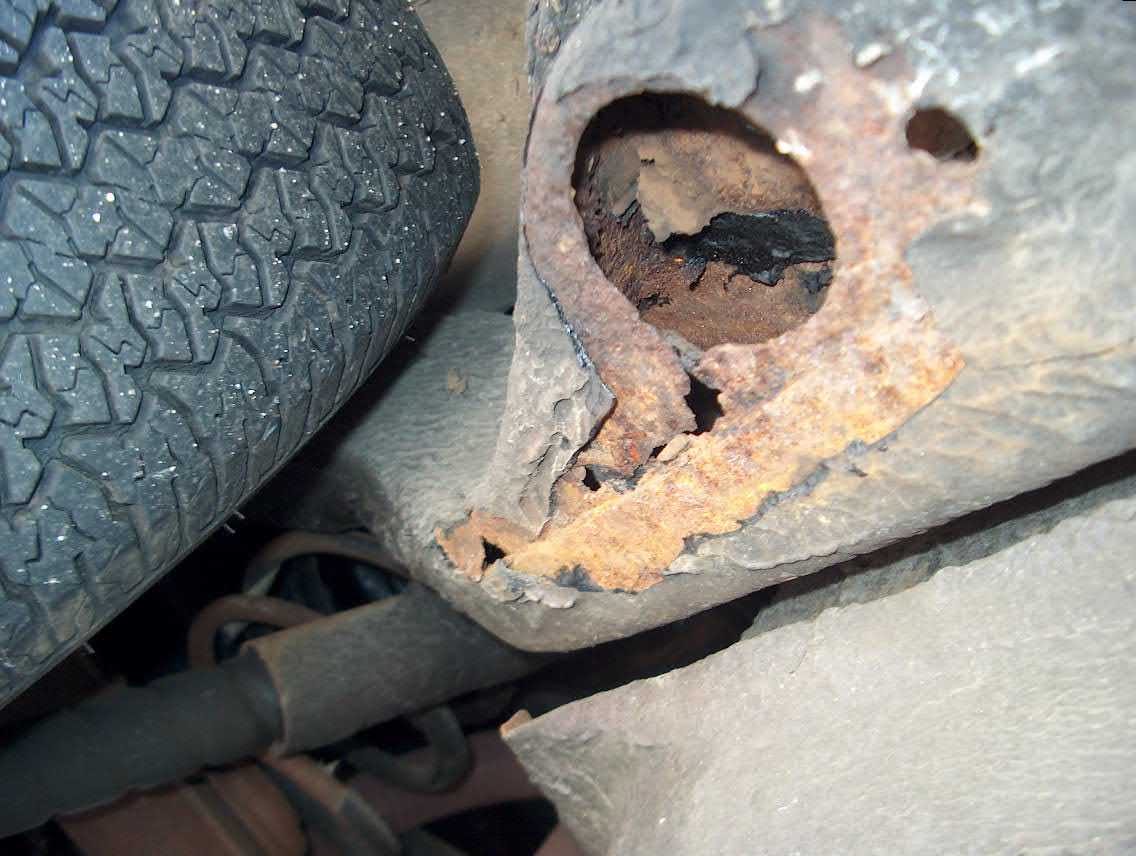
If you find you have a hole like this on your body after you take the bolt/mount out you are going to have to do some welding and fabricating here. I didn't have to do this because this hole is on the blue body and this didn't happen to the red body.
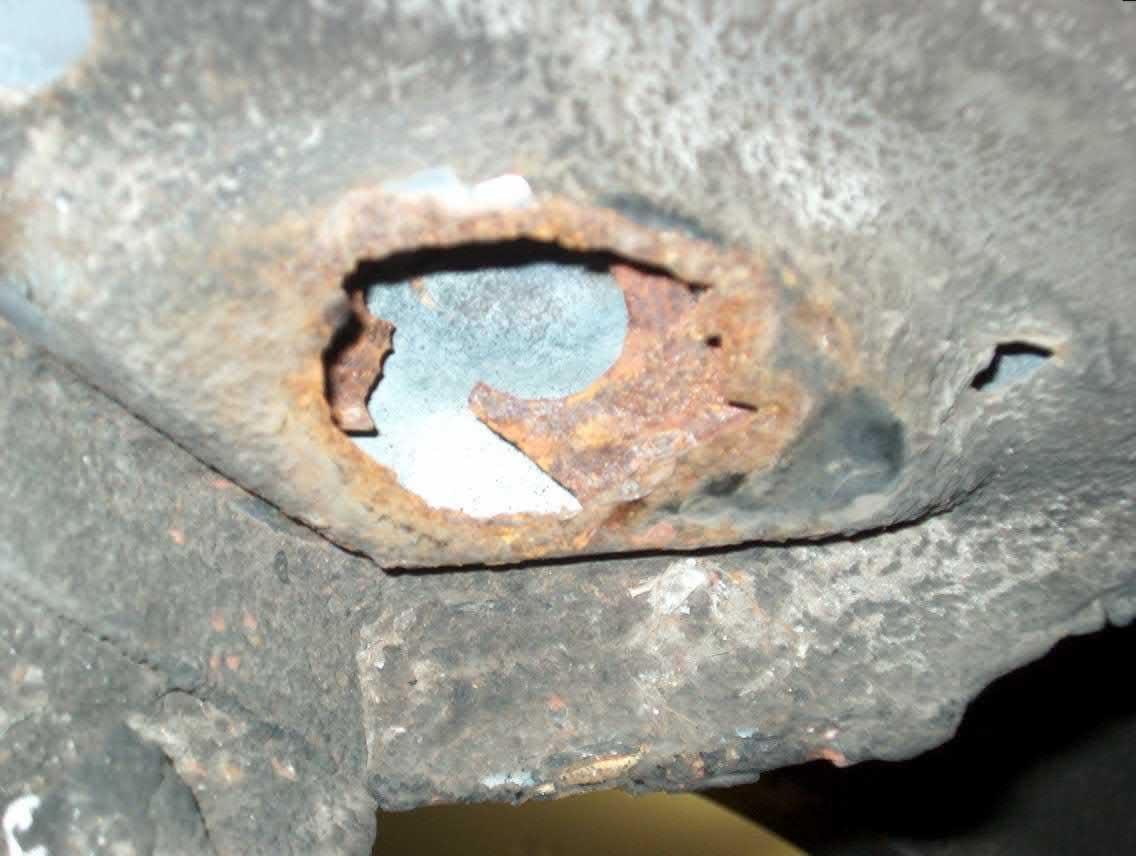
TIP: Watch out for rust holes in the floor when you are burning out the bushings.
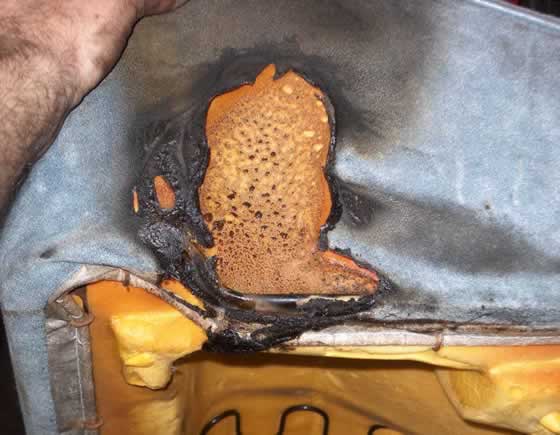
This is what happens when you use the torch and don't know there is a rot hole when you are burning out the bushing! Fire extinguishers are a good thing!
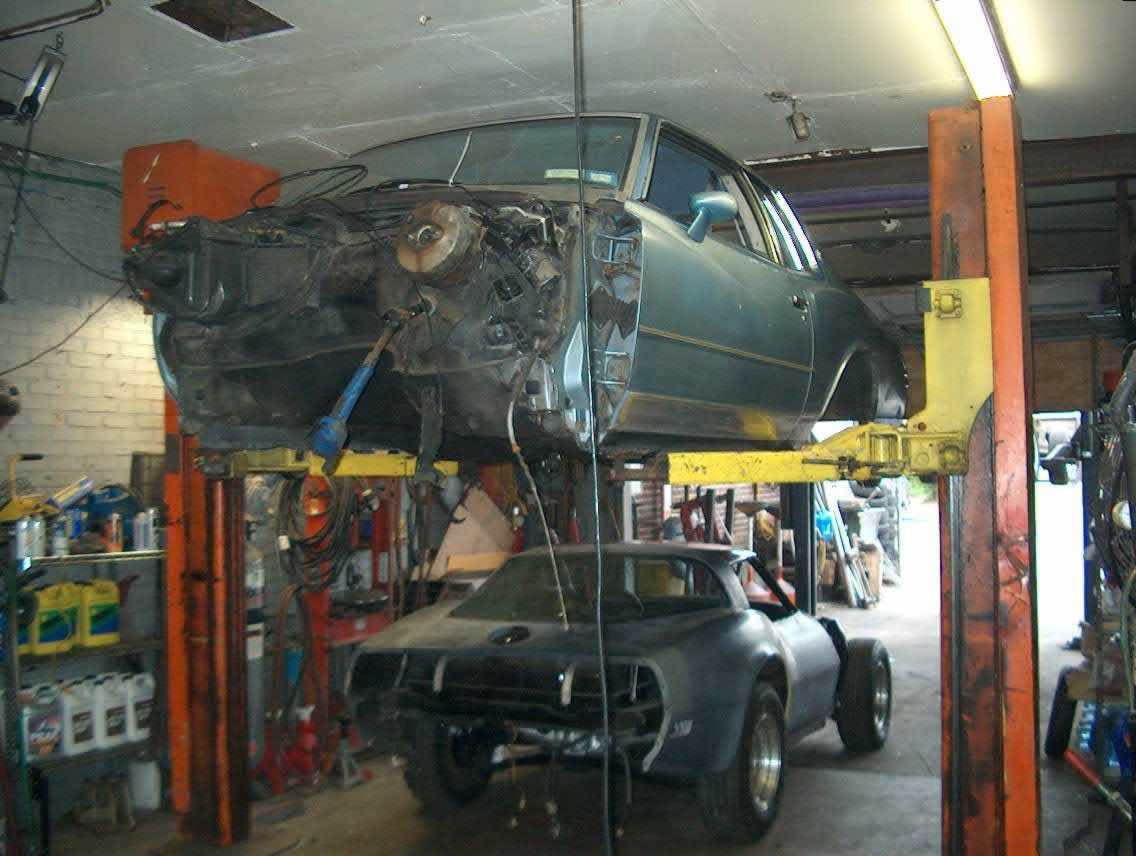
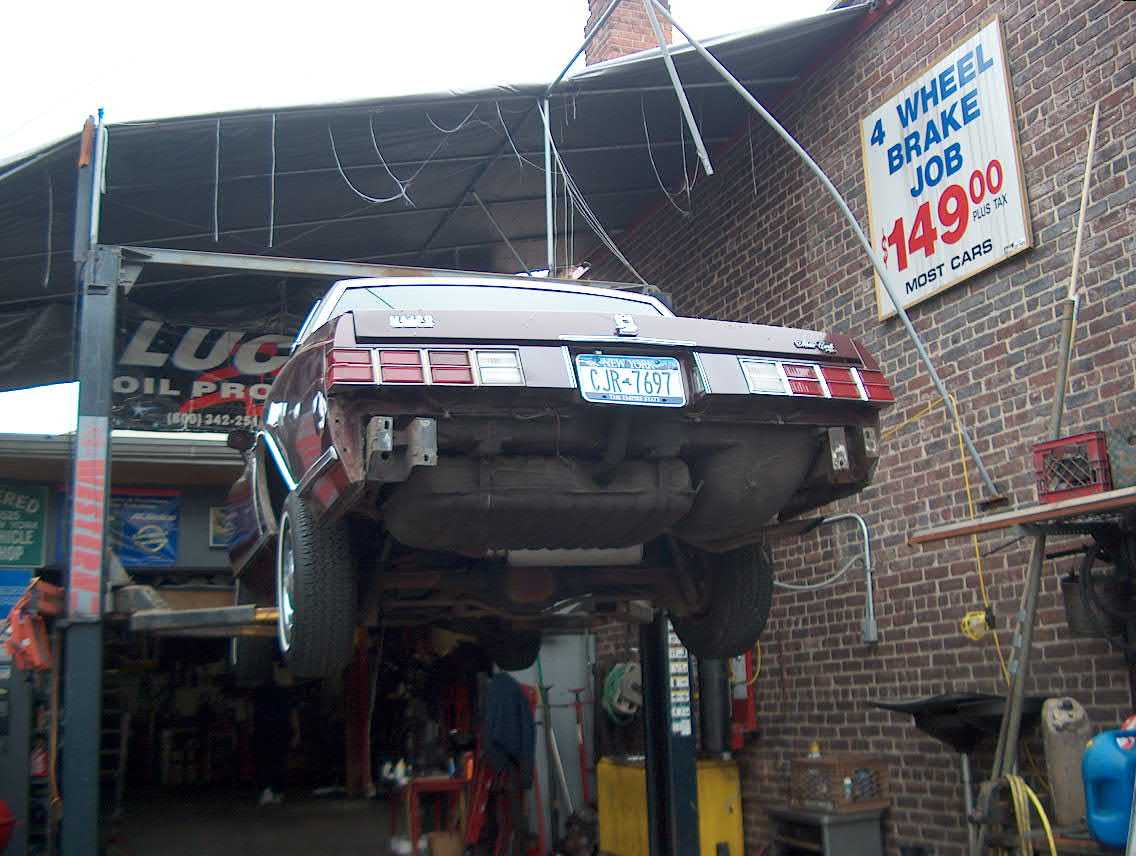
Lifting the body;
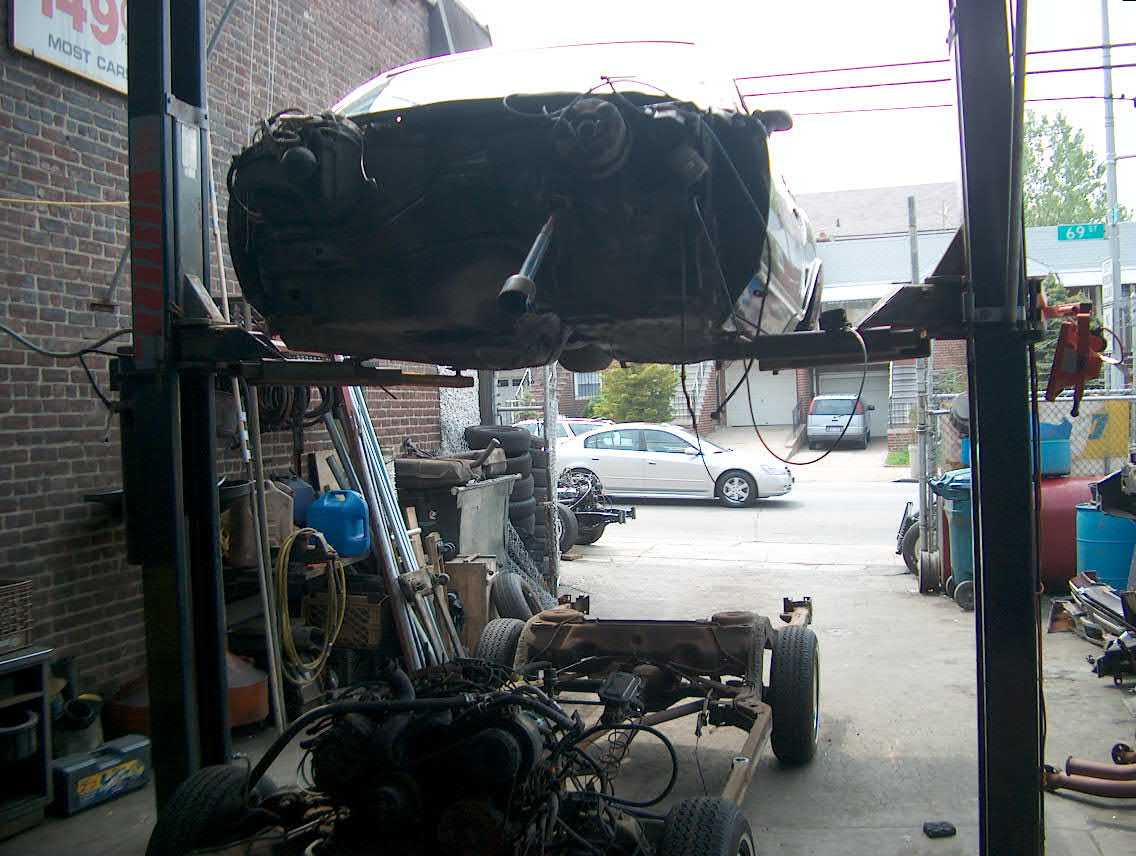
Here we have the body completely unbolted. We lifted the car from the frame first. We positioned jack stands on the body lip/seams and let the chassis down. TIP: On a 3rd gen there is a driveshaft strap that MUST be removed. It's bolted to the body. We found out the hard way and messed up a u-joint.
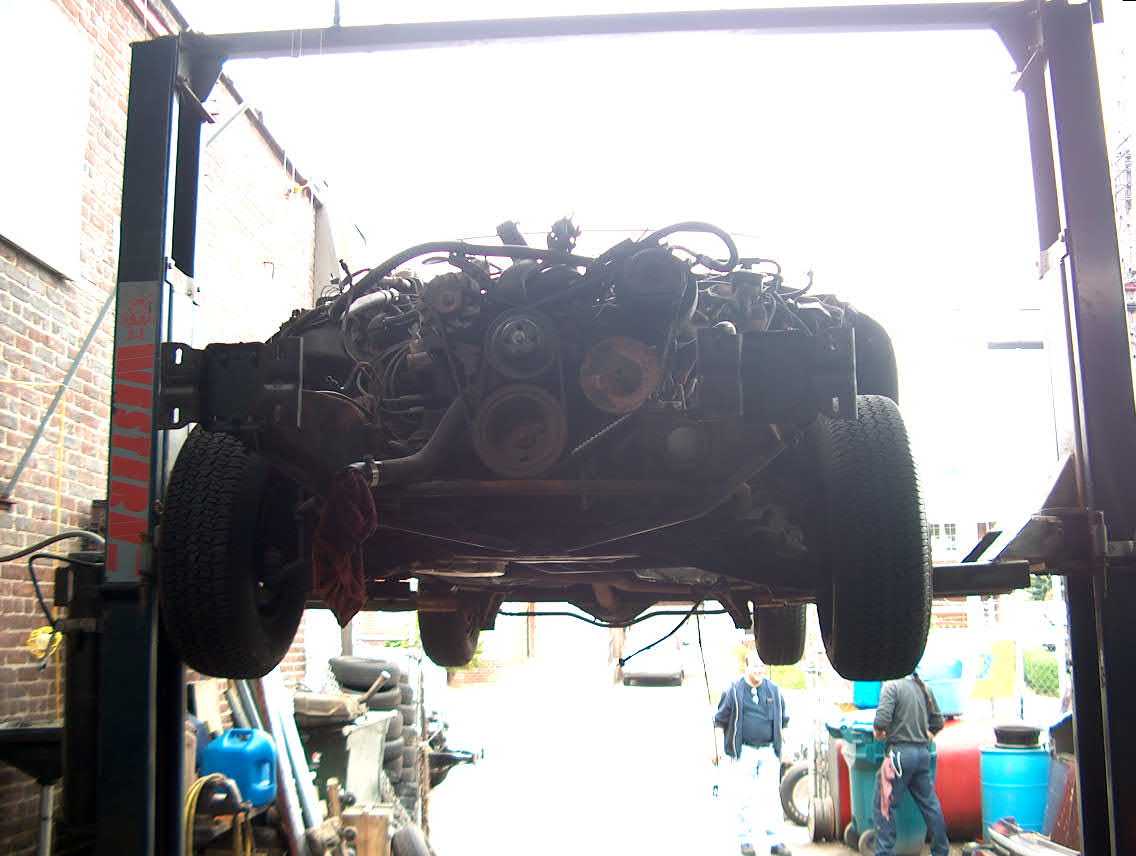
The we repositioned the lift arms and placed the lifting pads minus the rubber mounts under the body lip/seams and lifted the body straight up. As in the picture below.
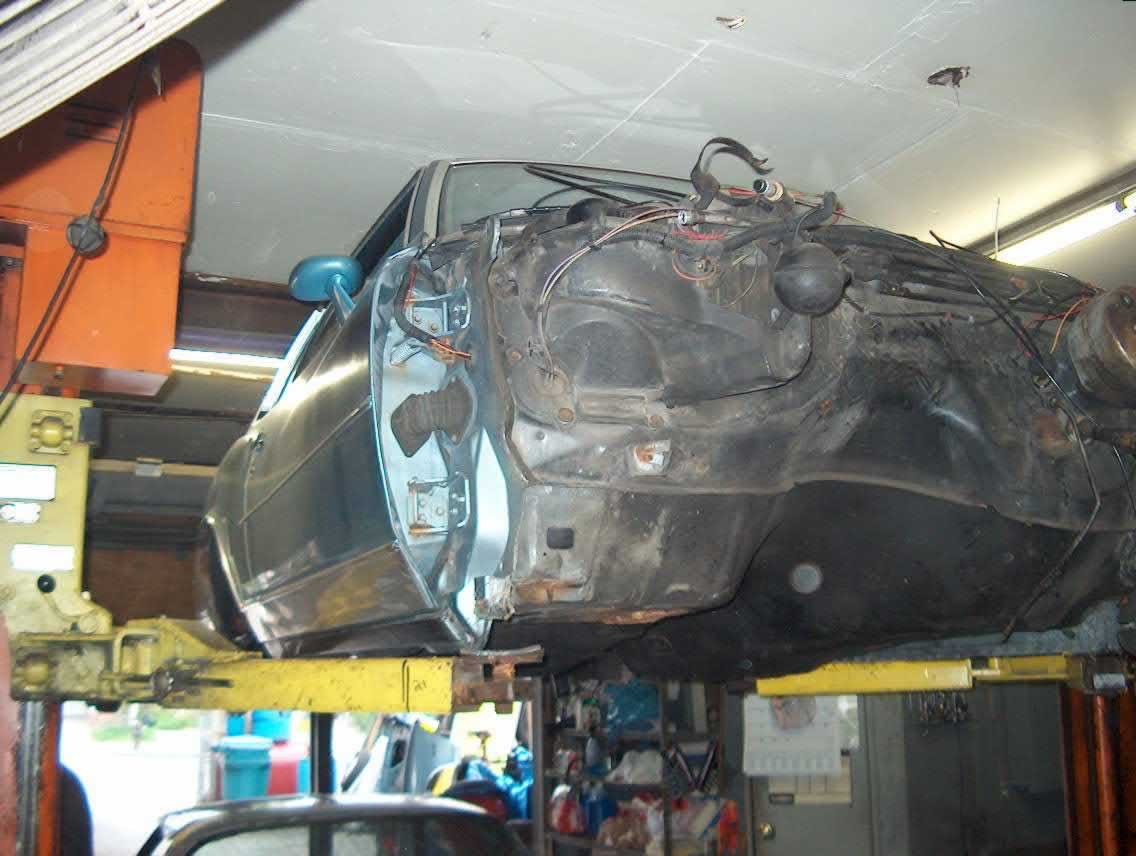
You will also have to remove the steering shaft at the steering box. This isn't too hard since the shaft is designed to slide. But after 24 years this one didn't slide to easily and a BFH had to be used. It eventually let go.
The rear bumper completely off... Ricky and John in the back.. Tomorrow we will have extra hands to do the red car and that's it.
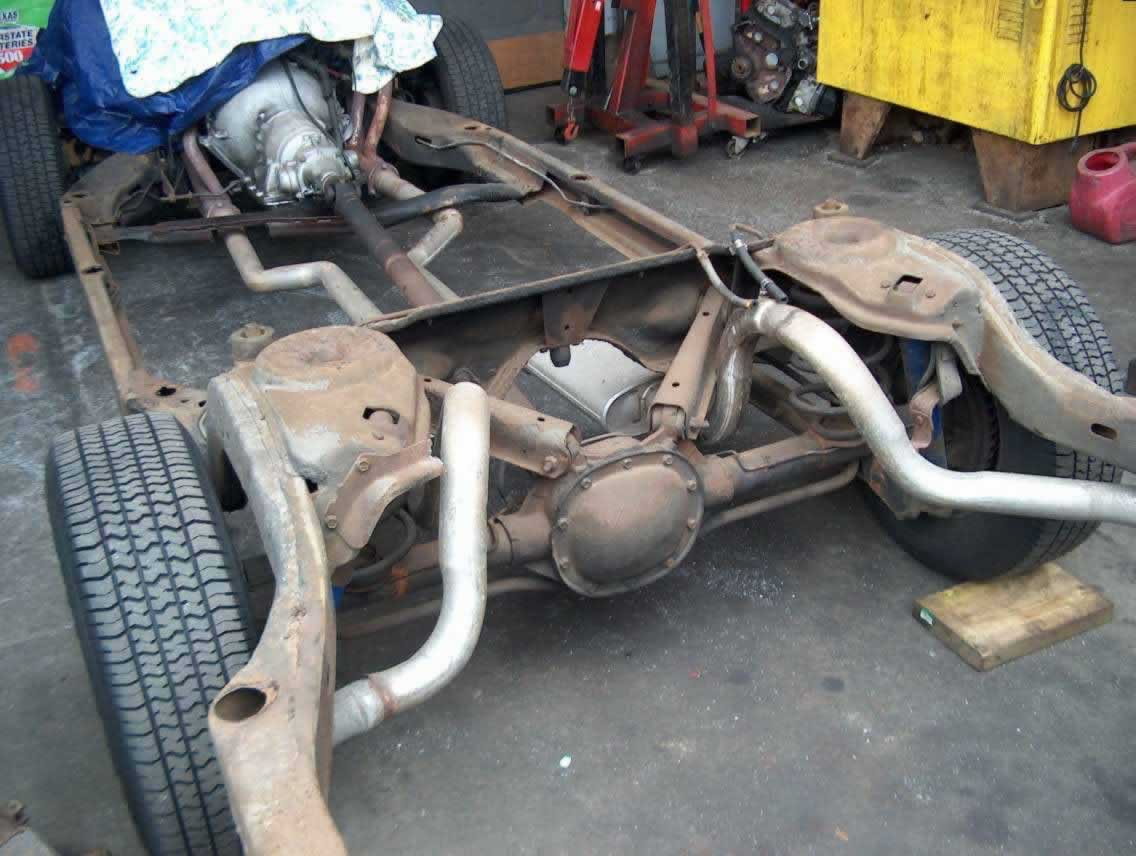
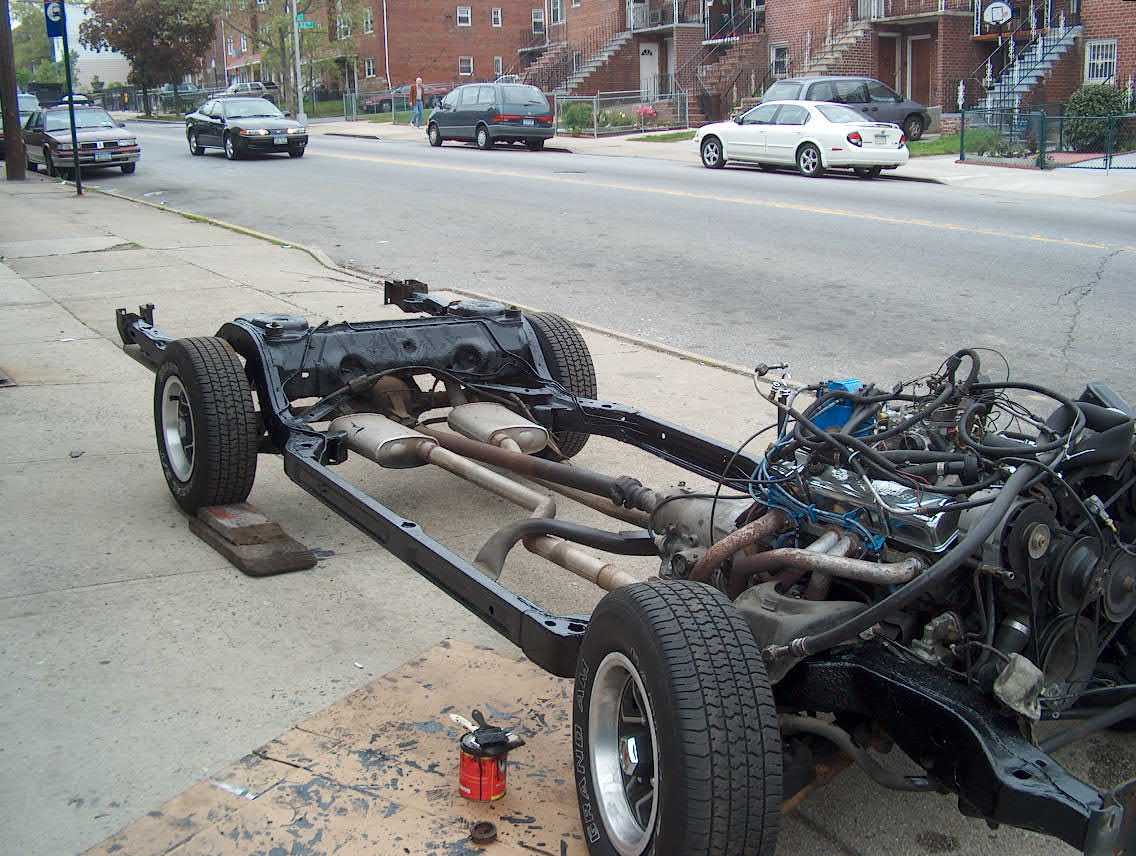
Here's the chassis at the end of the day! Get some por15 and get that chassis prepped...
Body swap day 2 & 3...

Here are noses lined up!
The new red car being taken apart...
The red car just hanging out...
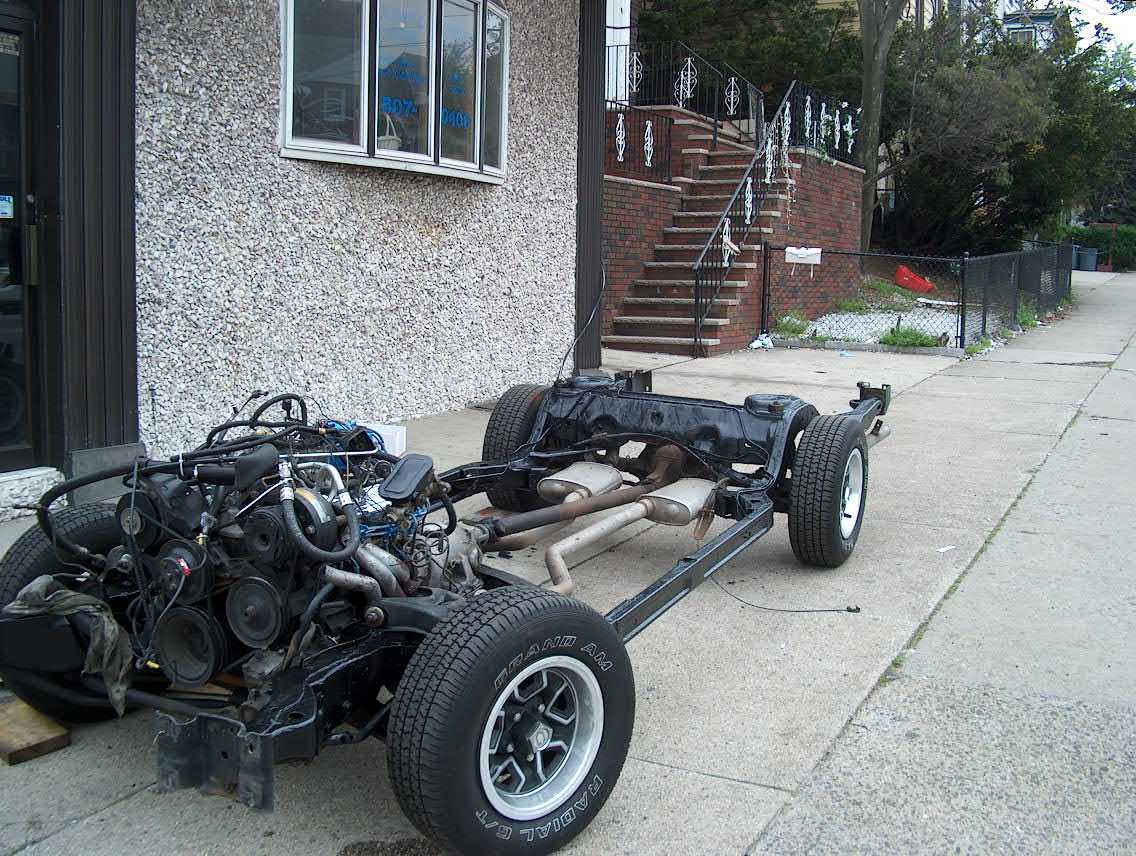
Freshly POR-15'd frame...
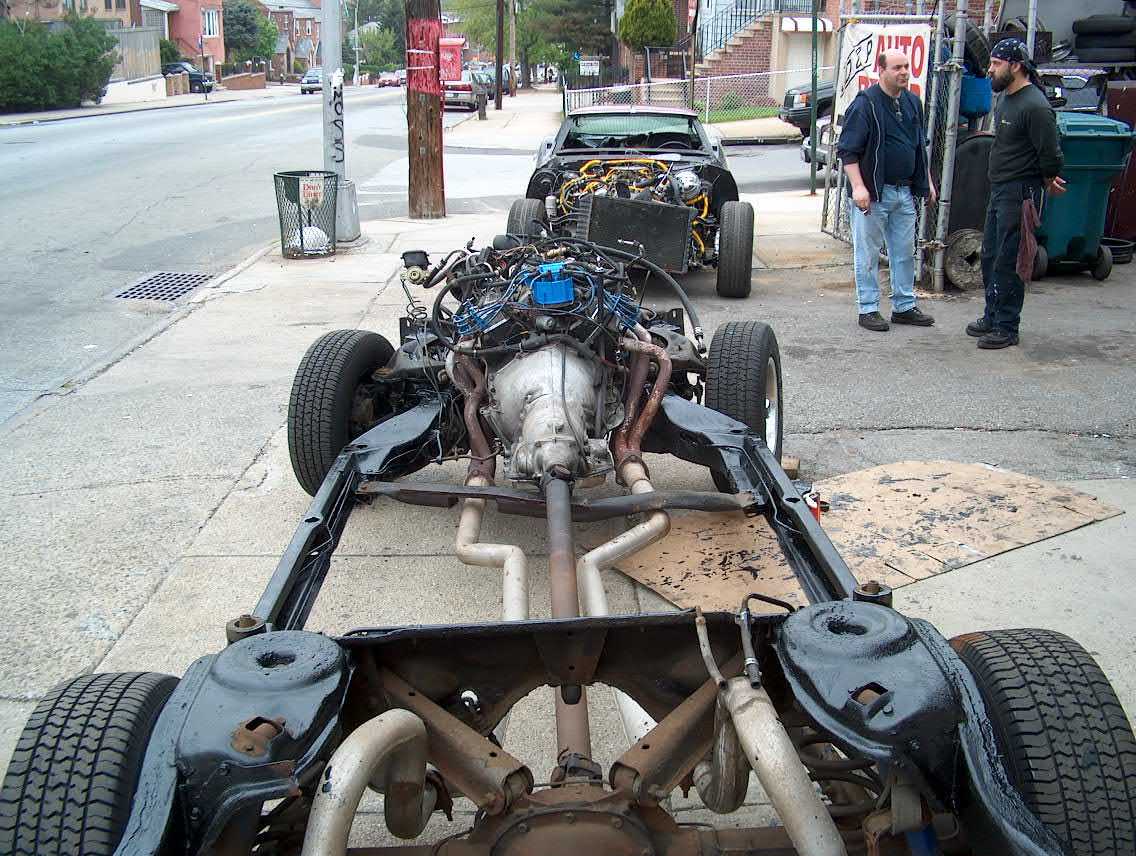
Ricky and Tony who did a lot of work with me on this...
Red body of its frame...
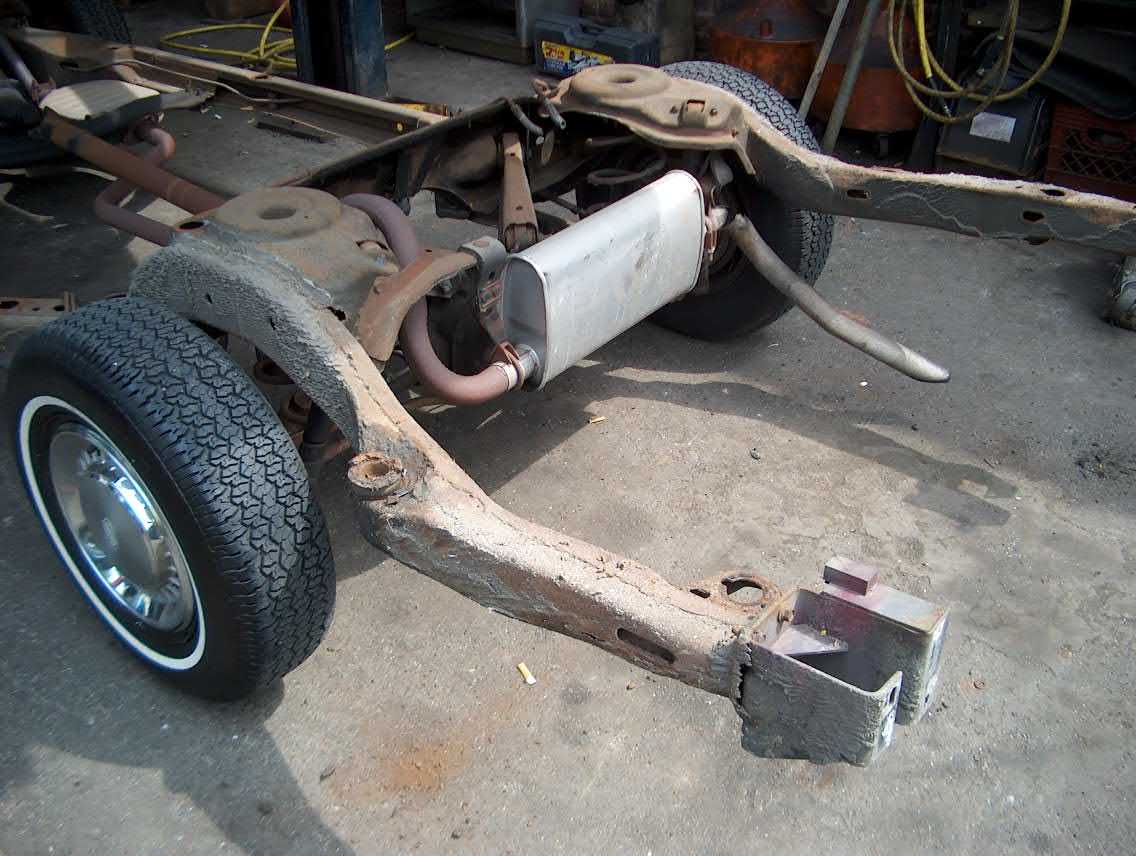
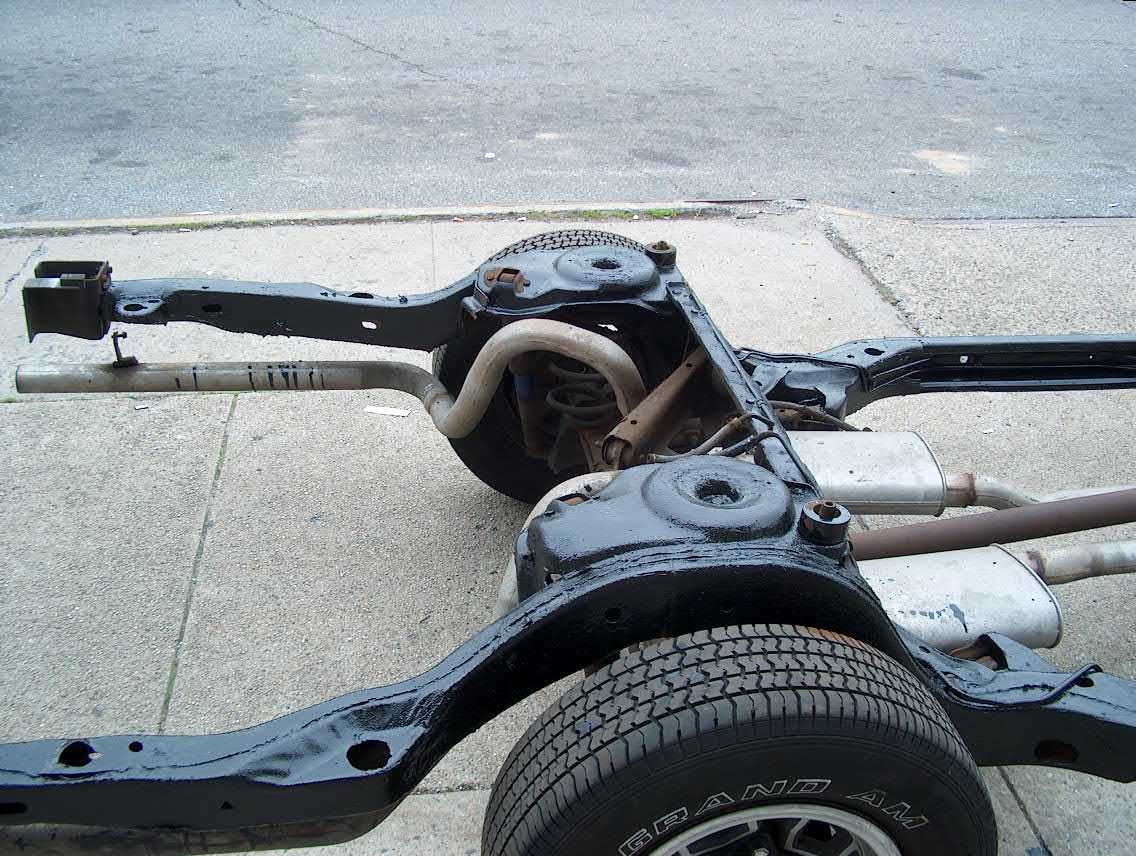
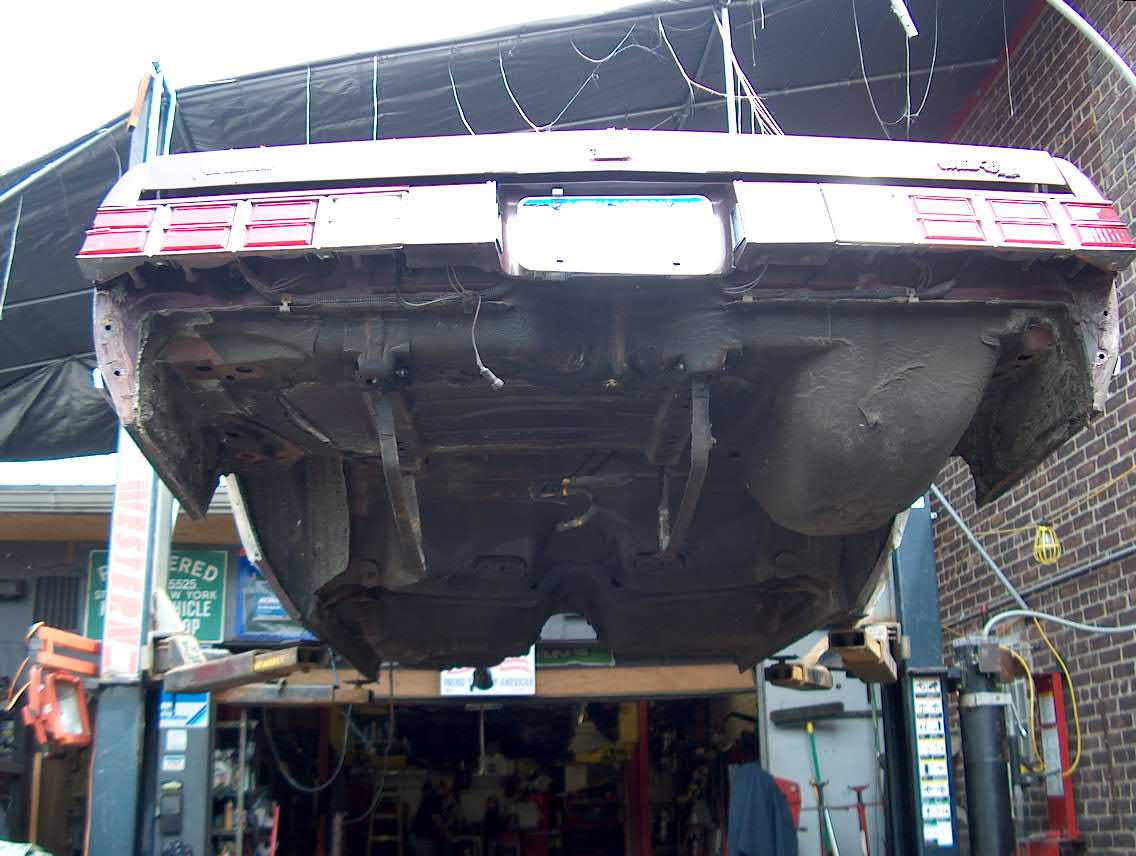
This is the underside of the frame rail on the red car. This is the main reason for the swap...
This rail was in such bad shape!!!
The red car frame. This rail was so rotted I could have just kicked it and it would have broken off. You can't see it but it's under the rail and goes all the way over the rail hump...
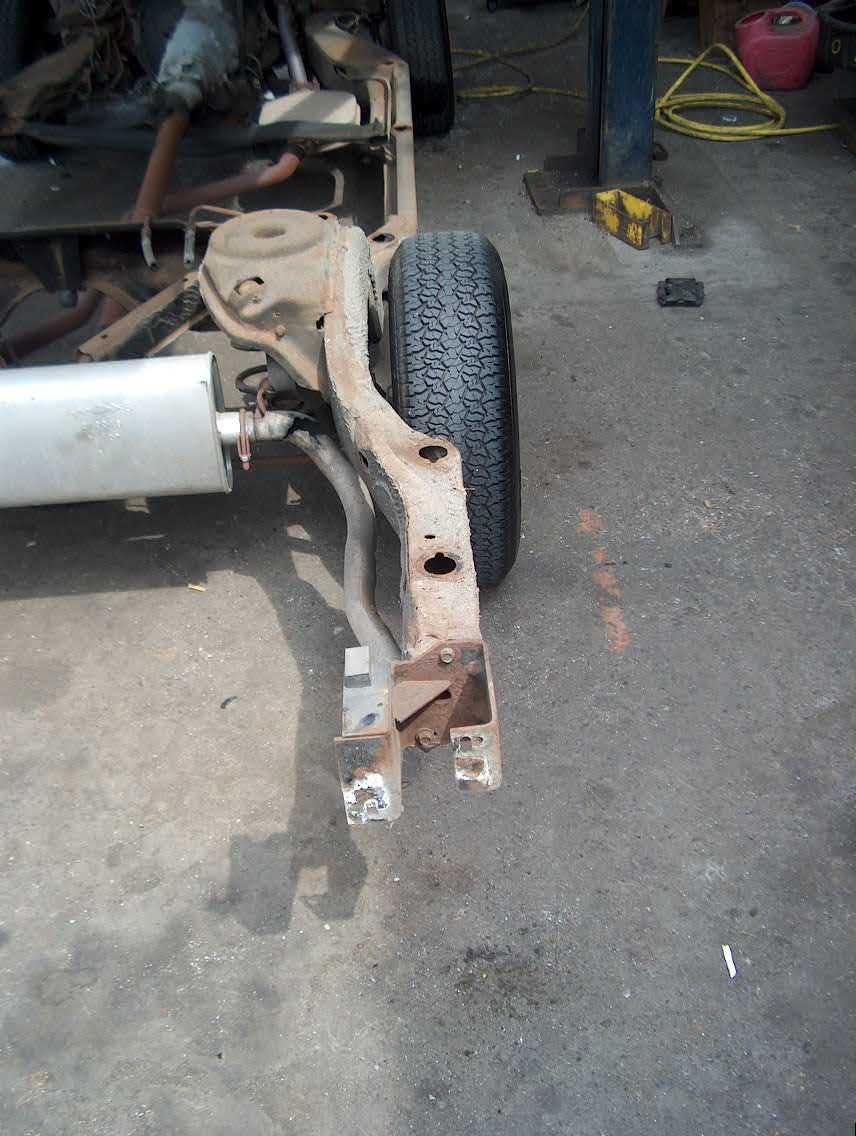
This rail was ok. All the bushings/bolts came out really nice except for 2 of them.
Body just hangin out again...
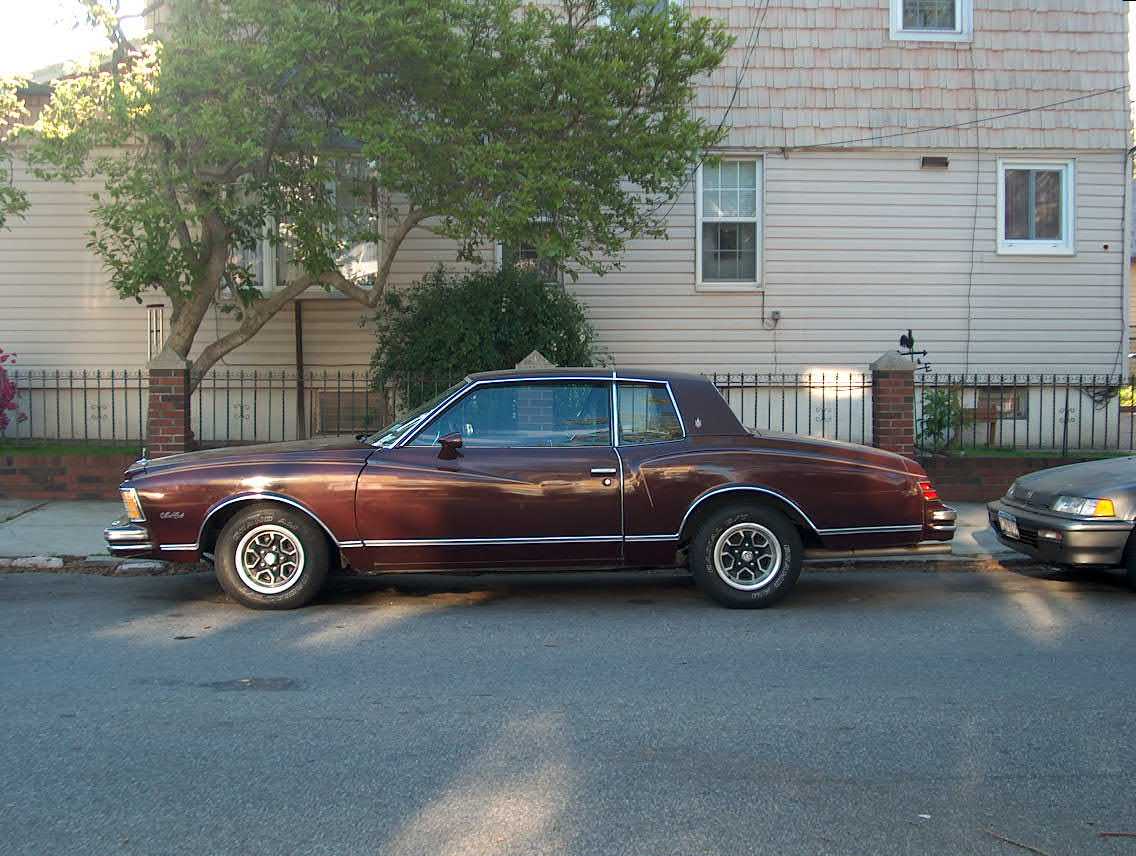
YAHOOOOOO the completed car!!! It rides so nice with the new bushings and stuff. It's amazing!! I have a couple small things to deal with and the body man is going to align the nose properly even though the shims are in the passenger side door won't open because it's up against the front fender but all this shouldn't be a problem....
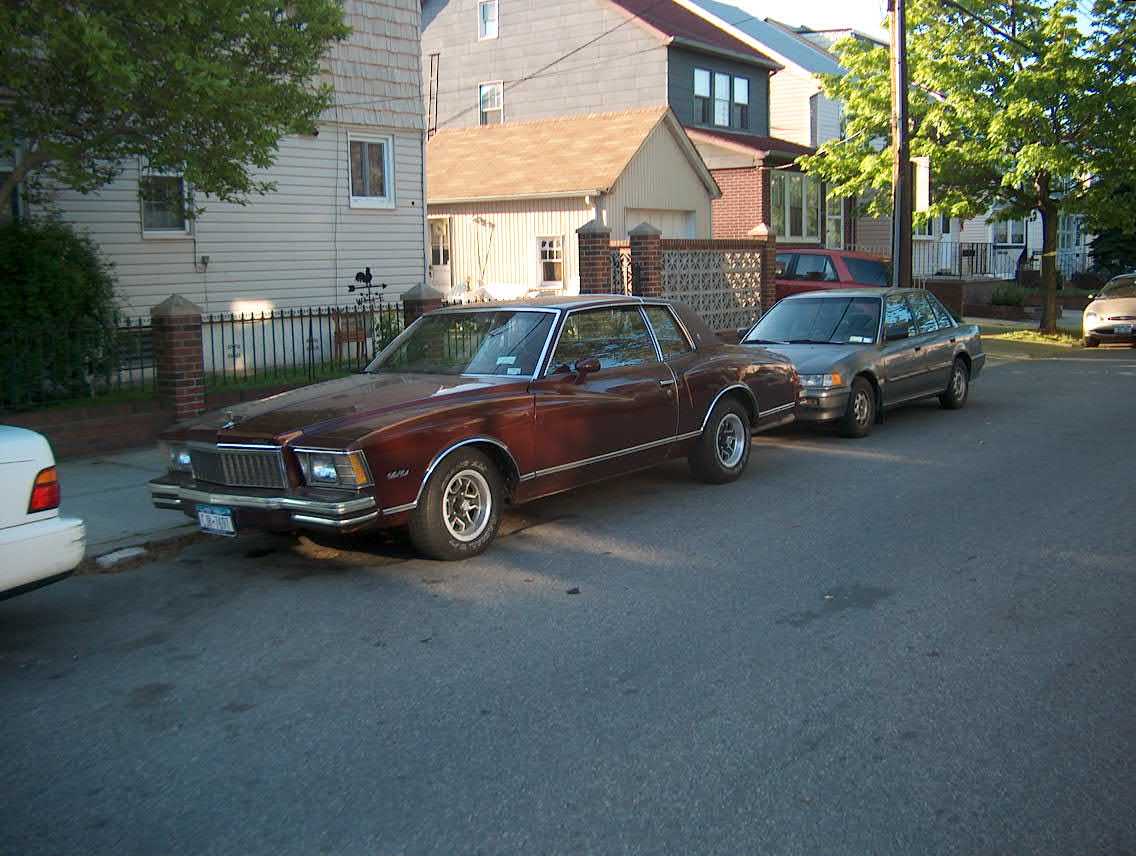
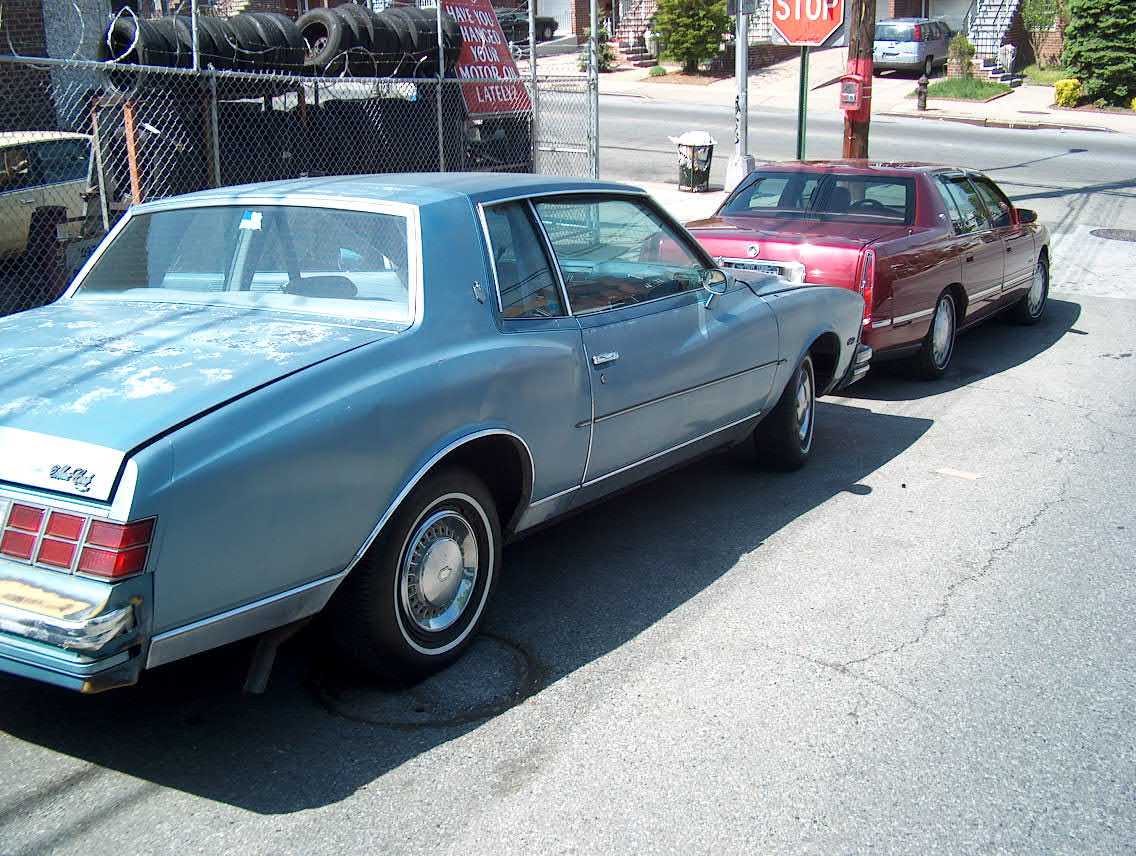
Here the old car is waiting to be picked up for donation. I was able to score a $4975.00 tax write off for this donation. I also took everything that I wanted for the new car. Intermittent wipers, all the courtesy lamps etc. etc.
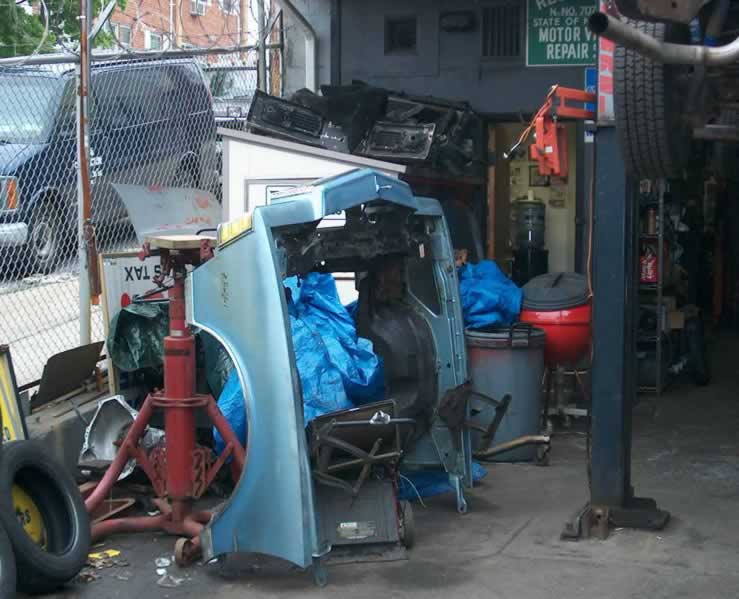
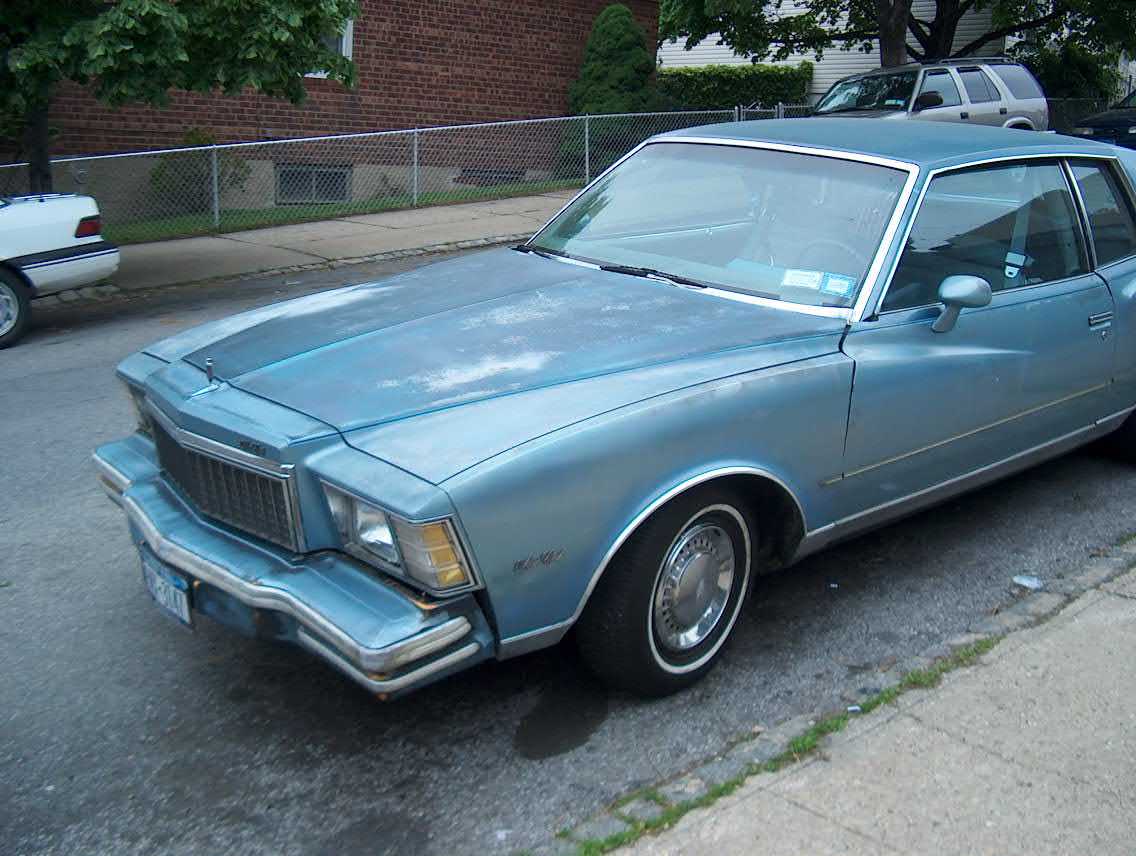
The car actually doesn't look too bad here. But it's actually a total basket case...
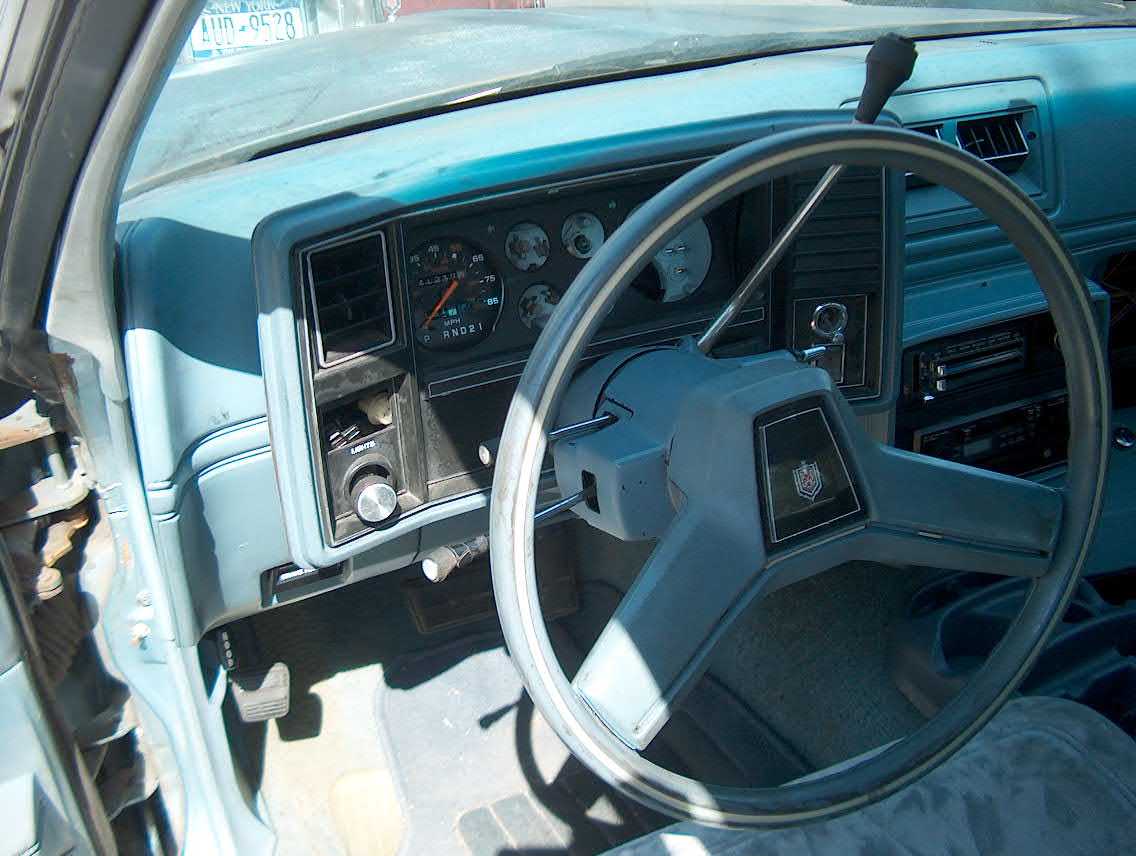
I snatched my gauges since the new car has idiot lights. I don't have to worry about the sending units or harness since the underhood harness is from this car and the sending units are setup for gauges already. I also took the intermittent wiper switch....
I told the guy who picked up the car, "don't think about driving this thing. It's not road worthy at all"... The body is held on by 4 mounts and spit!

The bumper is barely holding on here. When the guy dragged it on the flatbed it nearly fell off....
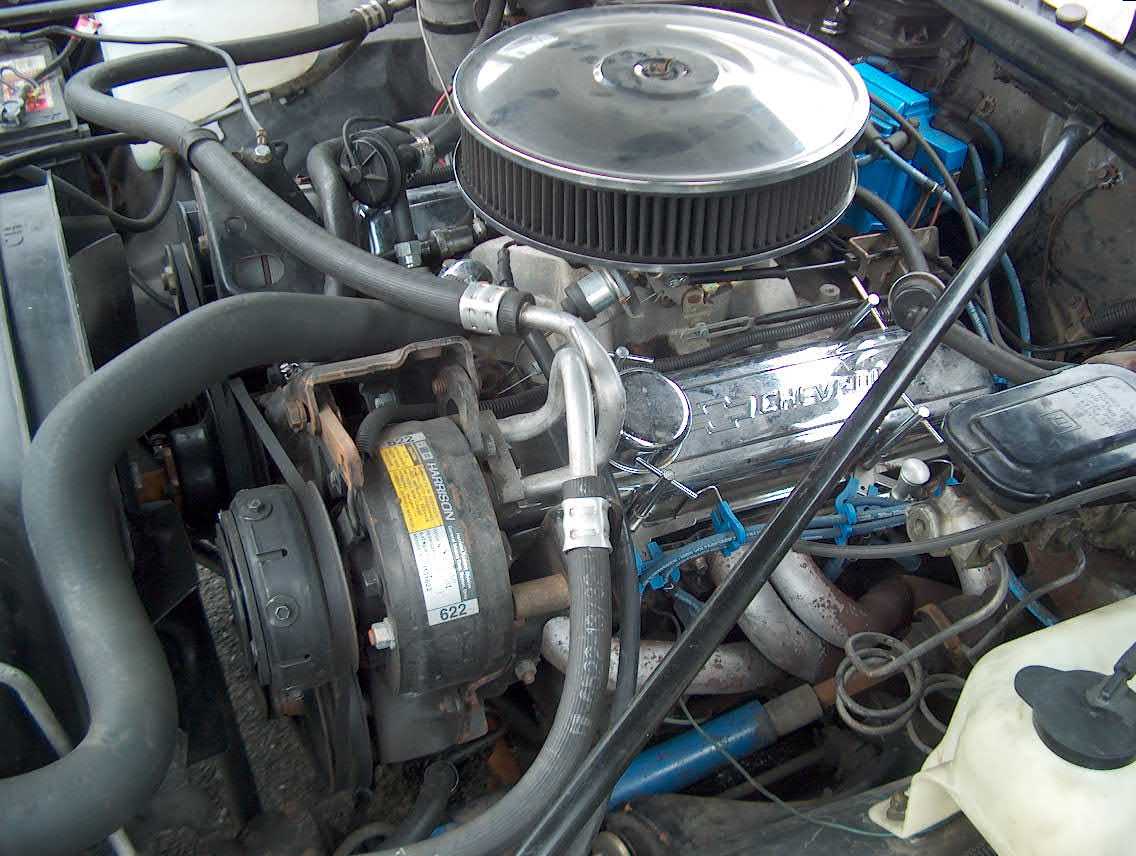
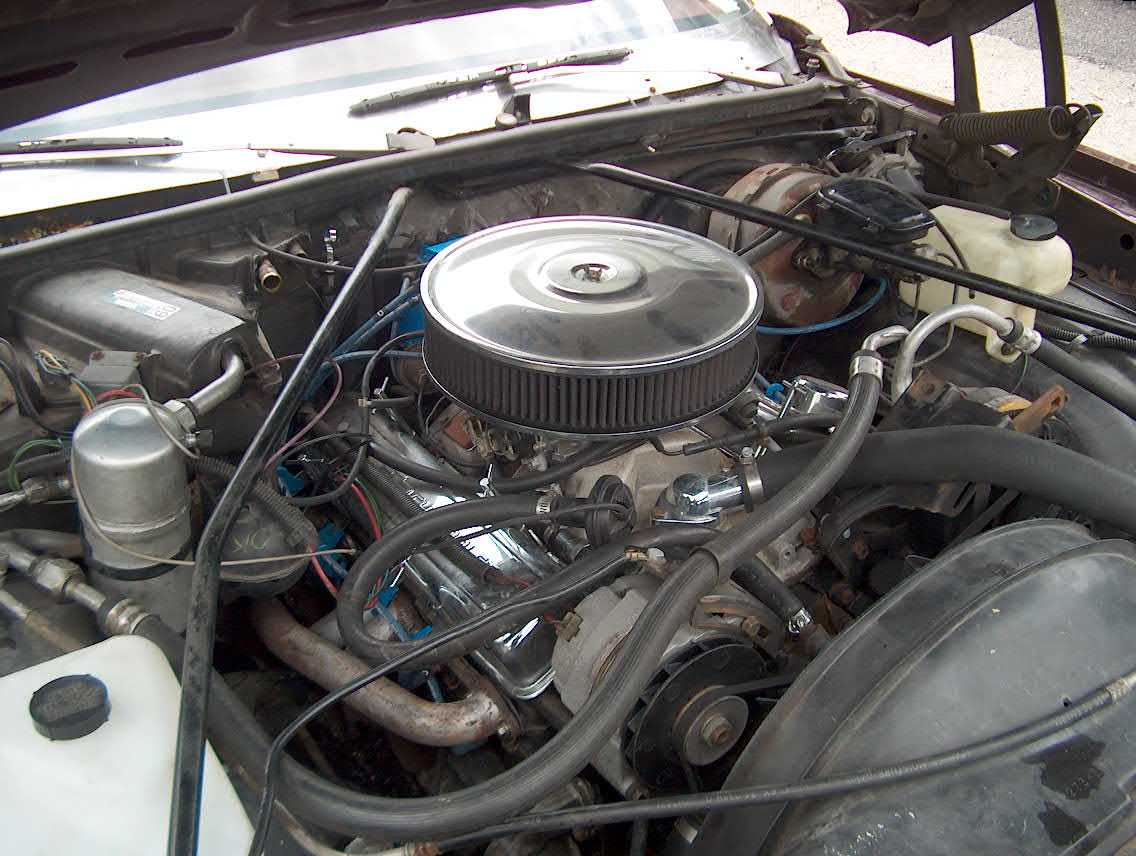
Here the 267 v8 from the red Monte is resting nicely. This motor actually ran sweet. It only has 40,000 original miles. When running it was so quiet, it's a shame to get rid of it but I don't need it...
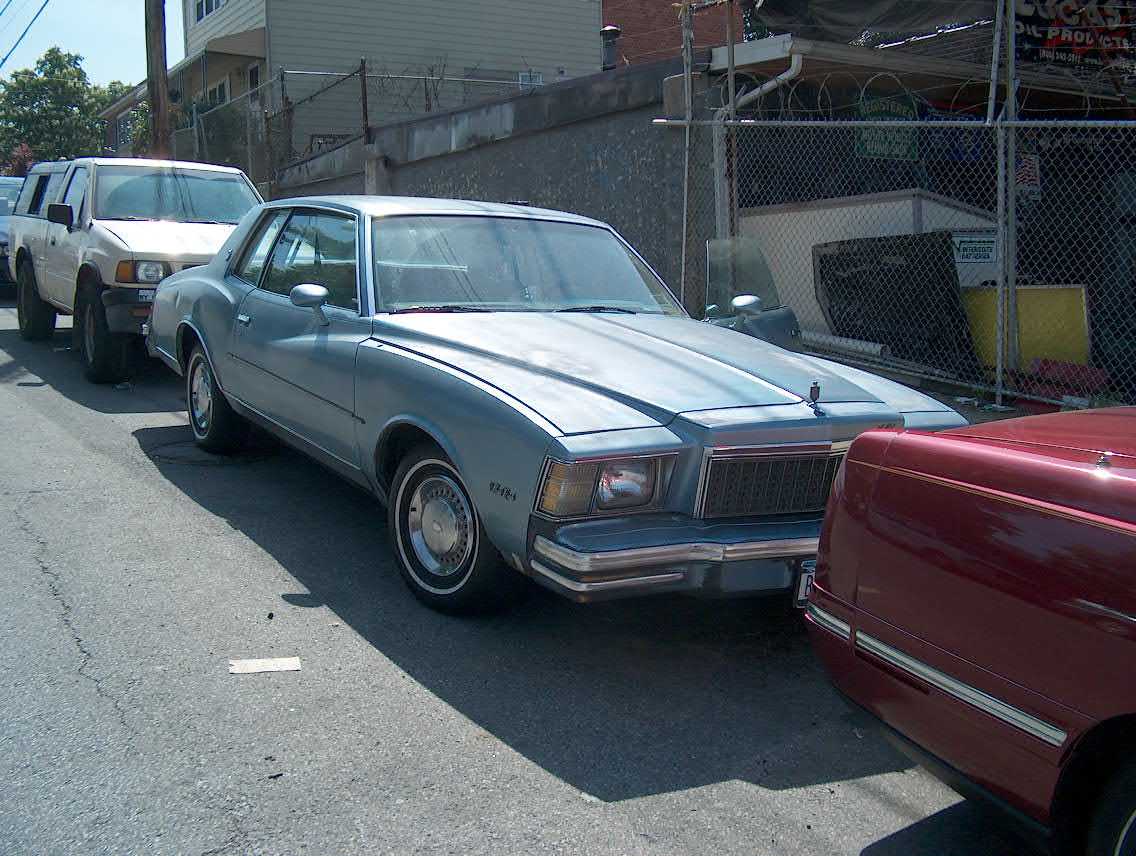
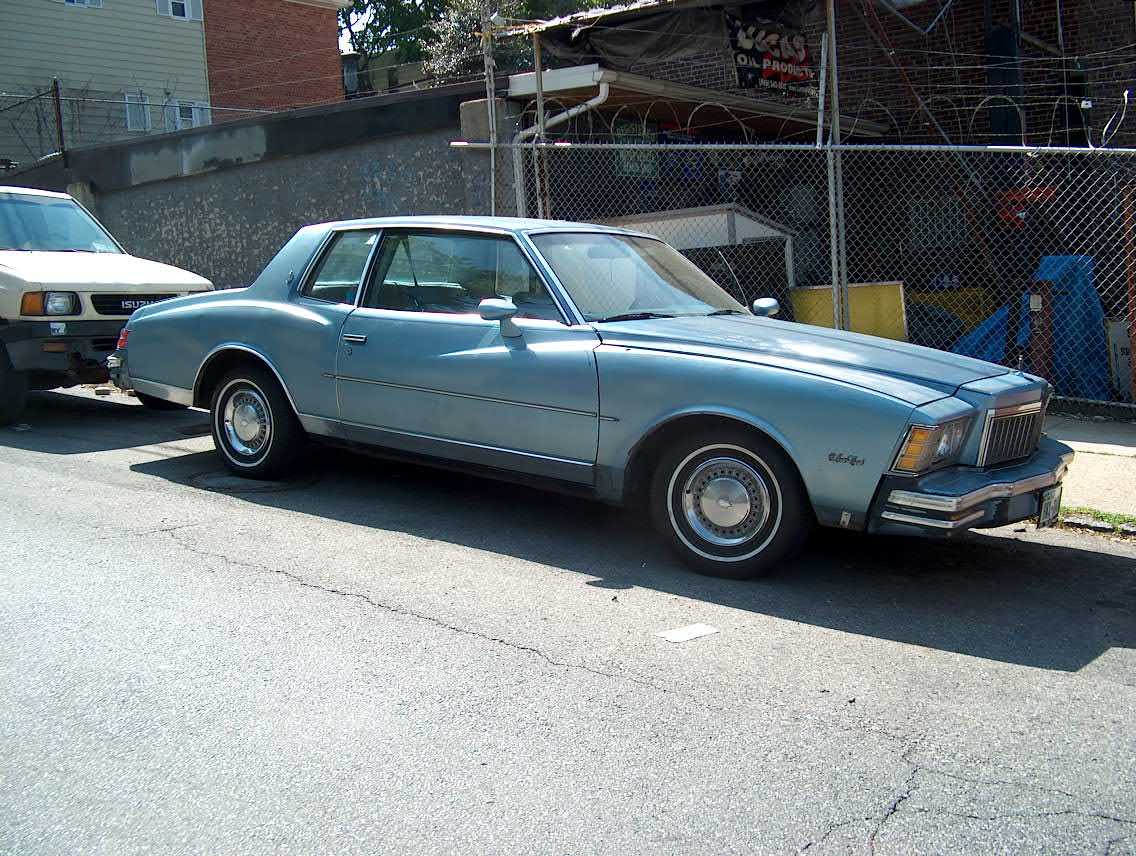
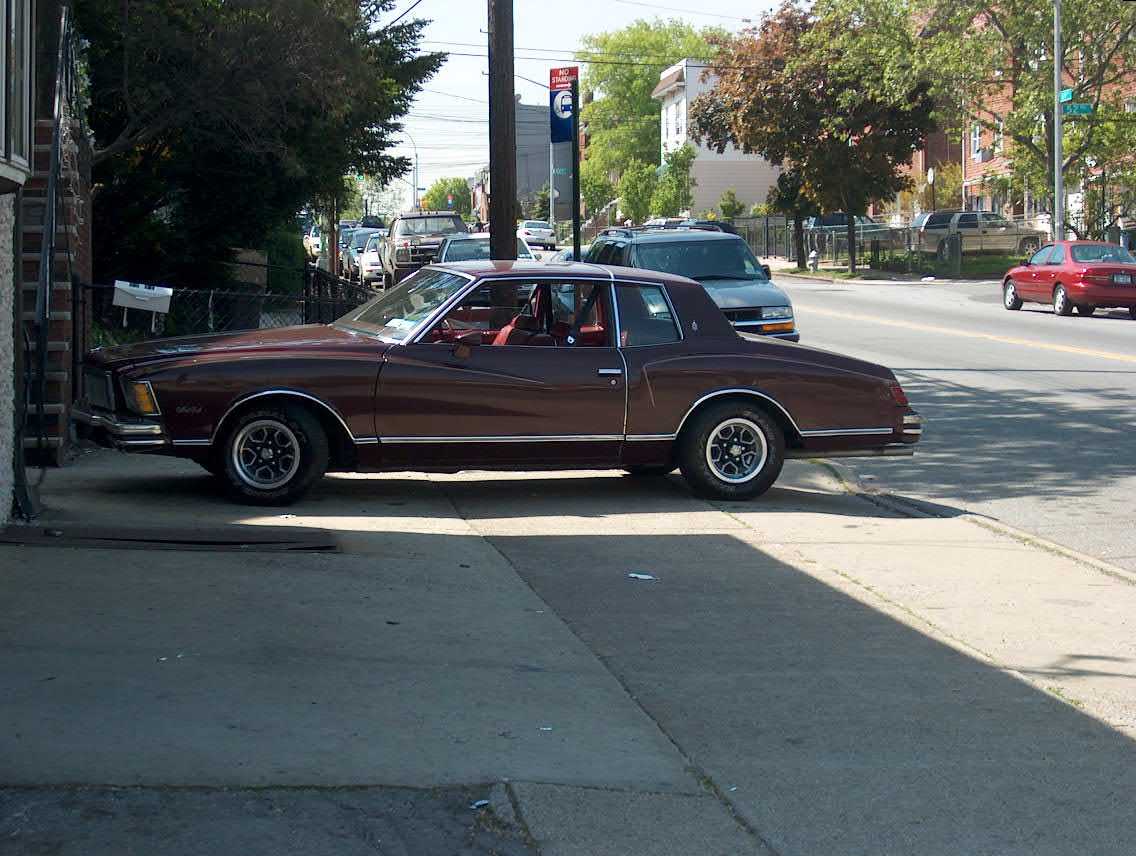
Here's the new car...
It's filthy in there. A winter's worth of grime! I would have cleaned it all up but a 2 schedule for the bodyswap wouldn't permit it.
Gotta get in there and do some detailing, RIGHT TOM?!?!...
Video of the car being loaded onto the flatbed if you would like to see...
Well that's pretty much it for now, but you get the idea...
Thanks for checking it out....
![]()